CJ7 Build Page 6

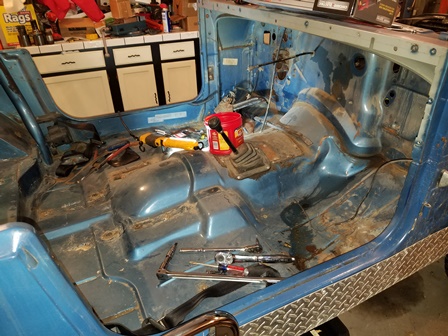
Figure 19. The front half is not completely stripped and ready. The pictures truly do not show how badly rusted this tub is. It is far worse than it appears in these photos.

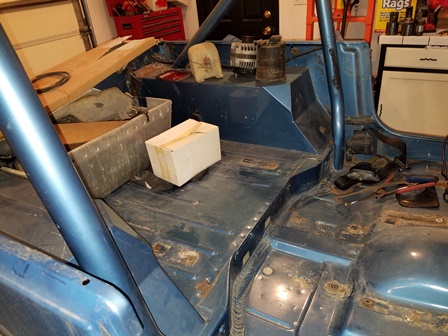
Figure 20. The back half is now stripped and ready. The roll bar is held in with the demon (sarcasm) torx head screws, and several rounded attempting to get them out. We will replace the roll bar with a roll cage kit later on, it will be safer than this roll bar so although it may cost quite a bit to do, it will be well worth it, and there will be no more torx head screws to deal with.

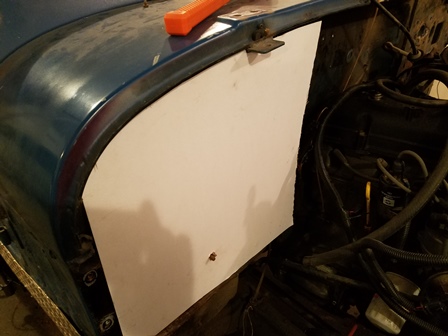
Figure 21. Here is a piece of poster board purchased from Officemax to use as a template for the heater system holes and openings. It was trimmed to fit the curve of the cowl lip, and when it is placed on the fiberglass tub firewall, will give me the correct locations to cut the holes out.

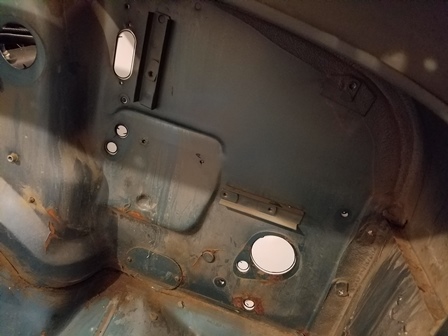
Figure 22. The other side of the firewall with the poster board up against it. Take a marker or pencil or whatever you have and mark the poster board with the openings. Do the same thing with the openings for the defroster, and for the cowl fresh air intake. Do your cowl intake opening with the poster board on the inside. The reason for this is that fiberglass tub will be thicker than the steel tub, and you will need to offset the opening towards the back to accomodate that distance. If you butt the poster board against the inside of the firewall and cut your opening from there, you will be the correct distance back. Without doing this, you could be as much as 1/2 inch too far forward for the opening to be positioned properly for the duct that bolts up to it.
| Pages: 1, 2, 3, 4, 5, 6, 7, 8, 9, 10, 11, 12, 13, 14, 15, 16, 17, 18, 19, 20, 21, 22, 23, 24, 25, 26, 27, 28 |
