LS Harness Conversion Page 1
The conversion of the engine wiring harness to a stand-alone unit for use in the CJ7 at first glance seems like a daunting task. There are a lot of wires, and it is a complex system. This section of the web site will detail how it was done for this vehicle. Other vehicles are similar, but not all of them are exactly the same. GM made changes throughout the history of this engine family, and changes are still ongoing even today.
There is a lot of information available about this conversion on the web, however, there just does not seem to be a comprehensive detailed step-by-step procedure showing how it is done. We will attempt to take detailed photos of every wire clipped and every connector crimped. Please join us on this adventure and perhaps you to can convert your own harness or make one from scratch. One caveat discovered with our research, it is almost as expensive to make a new harness as it is to purchase a new one. You will not save any money if you replace all the connectors. The only way you can do this on the cheap is to reuse the old connectors. We will also attempt to provide you with the part numbers for all the connectors as we go. This is far more difficult than it sounds, the Delphi website is not easy to navigate, and it is very confusing, and unless you already know the right part number, you likely will not find what you are looking for easily. We hope to rectify that here.
The Delphi part numbers for the connectors for this build are now listed in the Parts List section of the website.
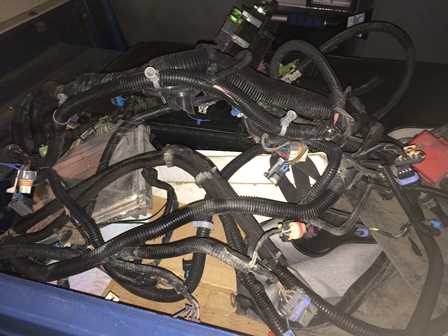
Figure 1. This is what we are starting with, the factory 2002 Vortec truck harness. All the tape and wire loom have to go. The first step is to disconnect the PCM from the harness and set it aside.
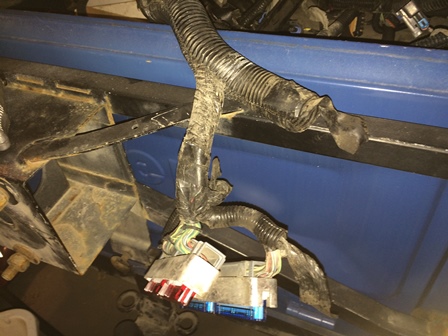
Figure 2. We will start at the pcm connector end and start removing the split wire loom. Carefully cut the tape at the end of the loom and pull the split loom off.
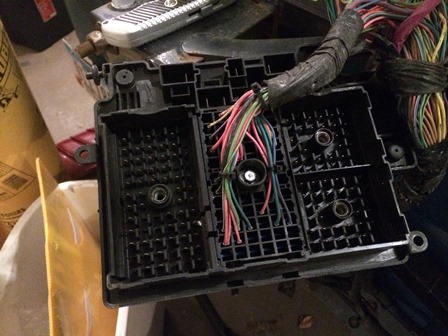
Figure 3. Get a 7mm socket and remove the C100 connector from the fuse block. Set the fuse block aside, it will likely not be re-used.
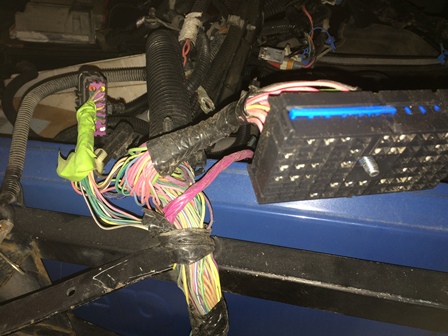
Figure 4. Remove the next section of wire loom.
Disclaimer: The information provided here is how I did it. I strongly urge you to do your own research and make sure you do it right. No claim is made that the information provided is the only way it should be done, or that you should follow my work without verifying for yourself that it is correct. You are free to do as you choose with the information shared here, but you do so at your own risk.
| Pages: 1, 2, 3, 4, 5, 6, 7, 8, 9, 10, 11 |