5.3L Engine Rebuild Page 6


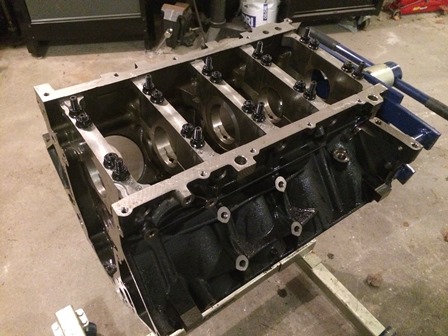
Figure 21. Here the block has been cleaned and scrubbed, then sprayed down with WD-40 to keep it from rusting. The block was cleaned with hot water and
Dawn Ultra Dishwashing Liquid
. It was then rinsed with water, then blown dry with compressed air, before spraying it down with the WD-40
. The Mr. Gasket 5192 Complete Engine Cleaning Brush Kit
were used to scrub it all down. The block came with a black powdercoat. It was going to be painted copper, but the black paint is very tough and
we decided to keep it as is, and paint the covers copper instead.


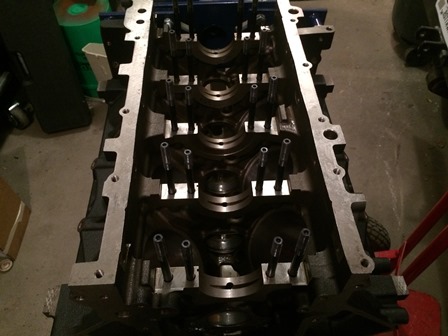
Figure 22. The main caps have been removed to install the bearings for Plastigage checking. Everything gets wiped down with CRC Brakleen 05050 Brake Parts Cleaner
before the bearings are put in. Cleanliness during these checks is vital, dirt can throw the measurements off, and it can destroy the engine later.


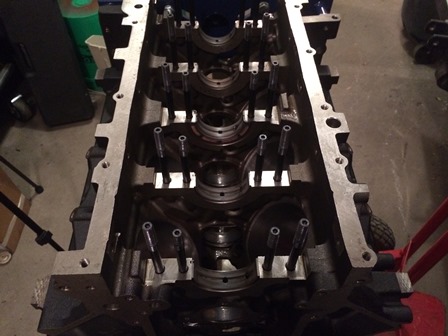
Figure 23. The upper bearing shells, Clevite MS-2199H-10 Main Bearings, are installed. The 3 notches in the side of the thrust bearing must face the rear of the block.


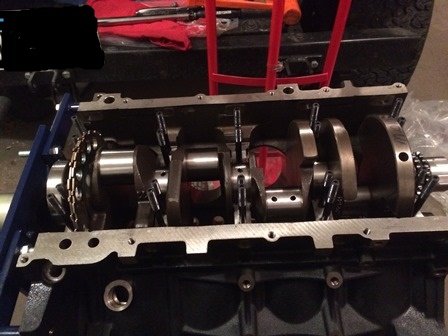
Figure 24. Clean the journals on the crankshaft with CRC Brakleen 05050 Brake Parts Cleaner, then carefully set the crankshaft in the block. Do not rotate the crank, as there
is no lubricant on the bearings at this time, we are just checking clearances at this time.
| Pages: 1, 2, 3, 4, 5, 6, 7, 8, 9, 10, 11, 12, 13, 14, 15, 16, 17, 18, 19, 20, 21, 22, 23, 24, 25, 26, 27, 28, 29, 30, 31, 32, 33, 34, 35, 36, 37, 38, 39 |
| <--Previous | 5.3L Engine Rebuild Home | Next--> |
| Contact: Copperhead | As an Amazon Associate I earn from qualifying purchases | © 2019 |
