5.3L Engine Rebuild Page 11

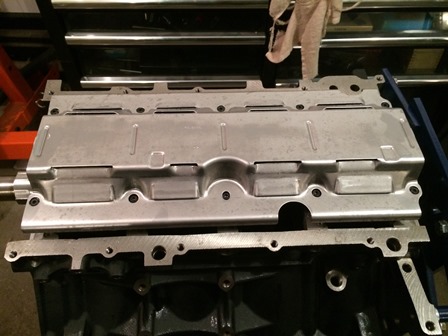
Figure 41. The windage tray was test fit. Since ARP main studs were used, the windage tray mounts are slightly larger diameter than the stock factory ones are. Three holes in the windage tray will need to be drilled out for clearance for the tray to fit properly.
Update: This tray was not used, it did not work with the aftermarket oil pan.


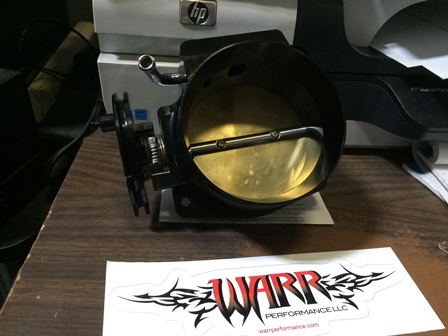
Figure 42. Took a chance and bought this 92mm throttle body from Warr Performance to go on the TBSS manifold. The black anodizing fits well with the color theme on this build. Research showed a couple reviews of this throttle body on LS1tech.com that were good. It may not be the best unit out there but for this build it will be more than sufficient.
If this has to be replaced, we will replace it with a Holley 860004-1 Sniper EFI Throttle Body.


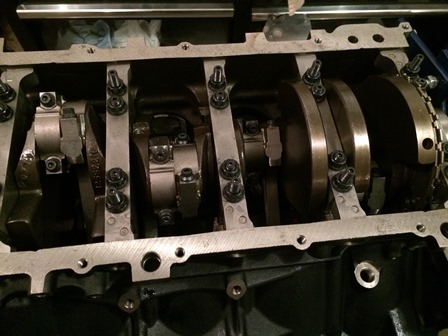
Figure 43. Changed out the rod bolts from factory GM to an ARP 134-6006 LS Cracked Rod Bolt Kit. Resizing the rod ends when doing this is recommended, however, these are new connecting rods and clearances checked fine after torqueing them down. The factory bolts are a known weak point in this engine.

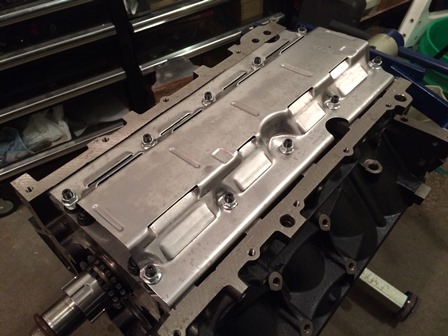
Figure 44. Here the windage tray is installed, after drilling out the smaller bolt holes. This metal is thin and bends easily. The drill bit grabbed and two spots had to be re-flattened with a ball pein after drilling.
Update: This tray was not used, it does not work with an aftermarket oil pan.
| Pages: 1, 2, 3, 4, 5, 6, 7, 8, 9, 10, 11, 12, 13, 14, 15, 16, 17, 18, 19, 20, 21, 22, 23, 24, 25, 26, 27, 28, 29, 30, 31, 32, 33, 34, 35, 36, 37, 38 |
| <--Previous | 5.3L Engine Build Home | Next--> |
| Contact: Copperhead | As an Amazon Associate I earn from qualifying purchases | © 2019 |
