5.3L Engine Rebuild Page 22
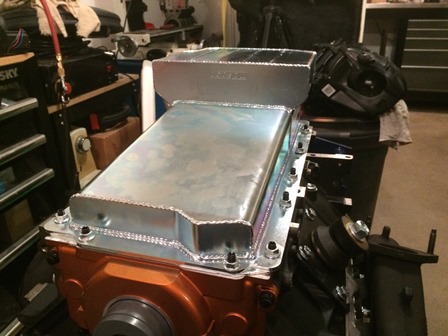

Figure 85. The Moroso 20143 Swap Road Race Oil Pan for GM LS Engine is now installed. The next step will be lifting the engine off the stand and final installation of the
rear cover and flexplate.
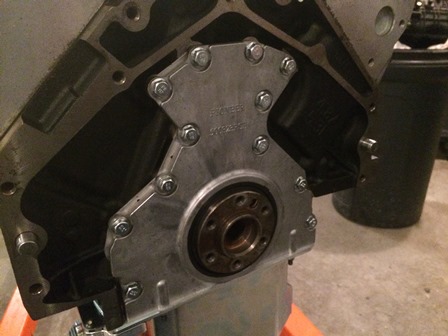

Figure 86. The 12639250 Rear Block Cover has been installed with the SacCityCorvette LS Rear Main Cover Alignment Tool & Seal Installer
, and the ACDelco 89060436 Crankshaft Rear Main Seal
was installed. The 1453658 Bellhousing Dowel Pin
are tapped in with a rubber dead blow hammer to prevent damage. The oil pan and this rear cover have been the most difficult part of the rebuild so far, they resisted being installed every step of the way. The oil pan will have to be removed one more time now that the covers are aligned,
to put RTV on the four corners to prevent leaks, then it will be reinstalled. The engine had to be taken off the engine stand
to install this cover.
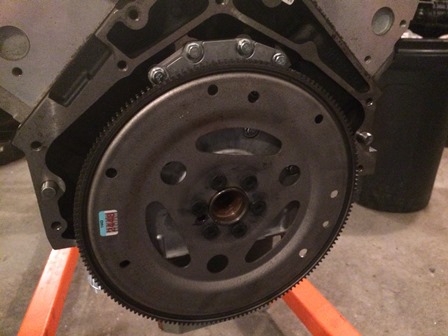

Figure 87. The JEGS 601060 GM LS Flexplate is installed with ARP 244-2901 Flex Plate Bolts
. The bolts are torqued to 85ft lbs in a star pattern. At this point, the
engine was placed back onto the engine stand for further work.
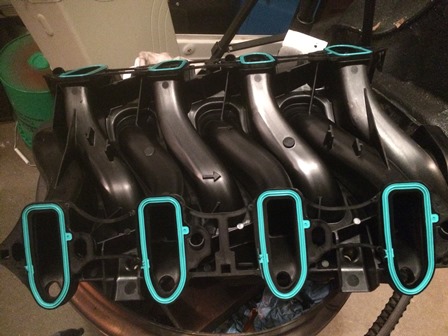

Figure 88. The new ACDelco 89060413 Intake Manifold Gasket Kit is now put on. They just snap on to the intake manifold. Make sure the grooves are clean and all the debris is removed before putting them in and installing the manifold on the head.
| Pages: 1, 2, 3, 4, 5, 6, 7, 8, 9, 10, 11, 12, 13, 14, 15, 16, 17, 18, 19, 20, 21, 22, 23, 24, 25, 26, 27, 28, 29, 30, 31, 32, 33, 34, 35, 36, 37, 38 |
| <--Previous | 5.3L Engine Build Home | Next--> |
| Contact: Copperhead | As an Amazon Associate I earn from qualifying purchases | © 2019 |