5.3L Engine Rebuild Page 30
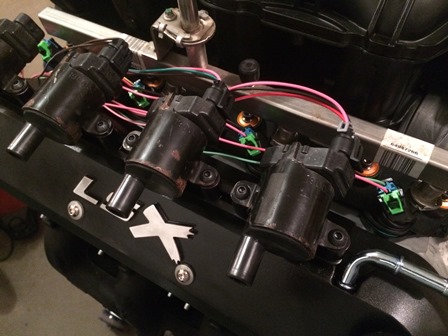
Figure 117. We are starting to assemble the wiring harness. Here, we are checking how the wires will route for the passenger side injectors and coils. In the factory harness, the pink wires for each group are spliced together up on the engine itself. For this unit, we are going to move the splices to the main trunk of wires that exit out the back and go up towards the PCM. Since the fuse block is going to be mounted near the PCM, this will give a good location for the pink wire connections. The brown wires in the coil connectors will also be spliced together in the main trunk.
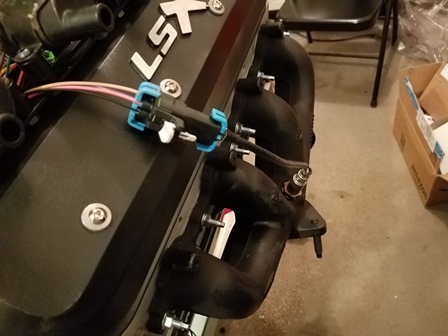
Figure 118. Both O2 sensors are now installed. On the original corvette setup, there was a bracket the connectors attached to. This setup does not have that. The copper braid sleeving should be sufficent for the way they are laid out in this photo. If that does not work well, we will make a flat bracket that will attach to the valve cover at one of the center bolts then a hole drilled in it for the clip on the connector.
Update: We realized we have the wrong O2 sensors installed in this picture for the 2002 PCM we are using. These are isolated ground sensores and we need case ground sensors. They have been swapped out for the correct ones.
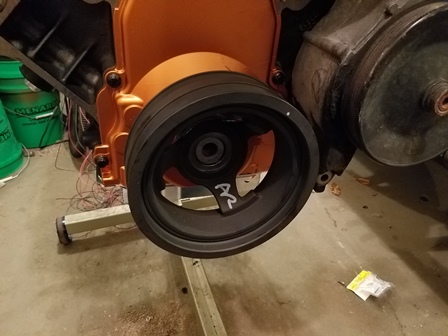
Figure 119. Installed the harmonic balancer. This is on extremely tight, but a tool from Napa was purchased to install it, and it went on smoothly. Be sure you coat the shaft, seal and balancer bore with a light coat of engine oil before you install. The original plan was to put an SLP underdrive balancer on this. Considering that this will be doing a lot of low rpm driving the underdrive will seriously affect the power steering and charging system, so a standard balancer was chosen instead. Another advantage to an AC Delco balancer is that it is less than half the cost of the SLP balancer.
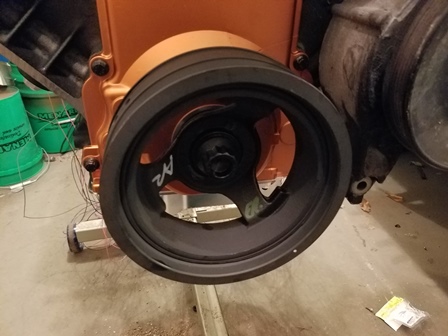
Figure 120. Installed the ARP balancer bolt. A torque wrench that reads up to 250 ft lbs had to be rented to do this job. The old bolt is torqued to 240 ft lbs then removed, then the ARP bolt and washer is coated with their ultra-torque lubricant, then the bolt is torqued to 235 ft lbs. The socket that fits this bolt is not a 27mm, even though that will likely work, the proper socket for this is a 12-point 1-1/16 socket.
| Pages: 1, 2, 3, 4, 5, 6, 7, 8, 9, 10, 11, 12, 13, 14, 15, 16, 17, 18, 19, 20, 21, 22, 23, 24, 25, 26, 27, 28, 29, 30, 31, 32, 33, 34, 35, 36, 37, 38, 39 |
| <--Previous | 5.3L Engine Rebuild Home | Next--> |
| Contact: Copperhead | As an Amazon Associate I earn from qualifying purchases | © 2019 |