5.3L Engine Rebuild Page 25

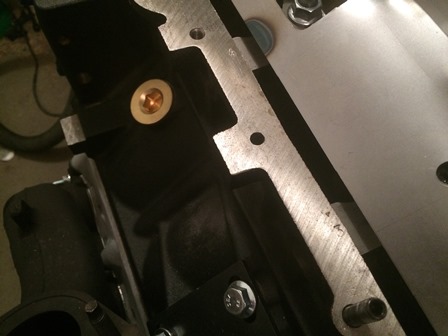
Figure 97. The hole on the oil pan rail in the middle of this picture was not originally in this block. The factory oil pans do not use this hole, and have a reinforced boss over this area to help seal the gasket. The steel oil pan we are using does not have this boss, but does have a bolt hole in this spot, as does the gasket. This hole was drilled and tapped, M8-1.25 so the oil pan will seal properly.

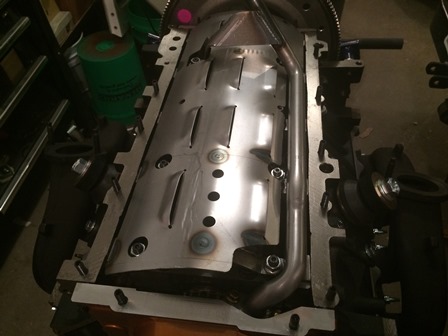
Figure 98. The oil pan studs are loctited in and ready for final oil pan installation. A dab of rtv at the four corners where the covers meet the block and then install the gasket. NOTE: These studs are the Moroso oil pan studs. Do not waste your money like we did, they are not really studs at all, they are long cup-point set screws, nothing special about them at all. They also do not include longer ones for the two bolts on the pan where the oil filter adapter is at. We had to purchase M8 x 40 socket head bolts for those spots. We should have used ARP oil pan bolts.

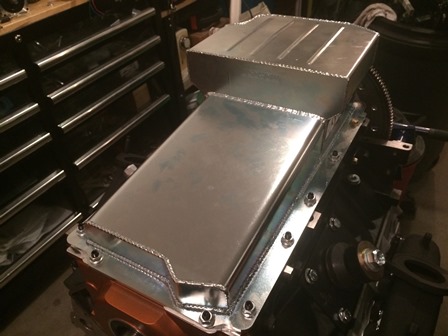
Figure 99. The oil pan is final installed. The M8 bolts and nuts are torqued to 18ft lbs. The M6 bolts on the rear cover are torqued to 9ft lbs.

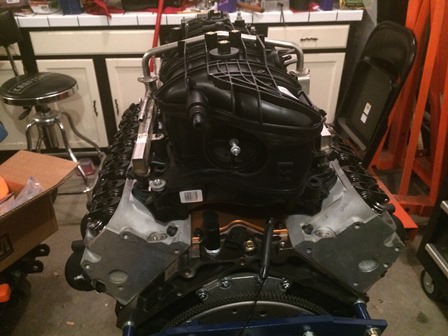
Figure 100. The engine is now flipped back over. This view is the back of the engine and you can see camshaft sensor and oil pressure sensor. We will proceed from this point with final valve train installation with completing the rocker arms and setting lifter pre-load.
| Pages: 1, 2, 3, 4, 5, 6, 7, 8, 9, 10, 11, 12, 13, 14, 15, 16, 17, 18, 19, 20, 21, 22, 23, 24, 25, 26, 27, 28, 29, 30, 31, 32, 33, 34, 35, 36, 37, 38 |
| <--Previous | 5.3L Engine Build Home | Next--> |
| Contact: Copperhead | As an Amazon Associate I earn from qualifying purchases | © 2019 |
