4L60E Transmission Rebuild Page 6 of 29
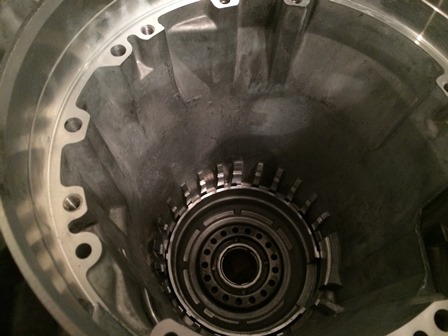
Figure 21. The spring cage was in good shape, and will be re-used. It is now installed along with the snap ring that retains it. The spring compressor is used here to push the top of the spring cage down so the snap ring can be installed. This, in my opinion, is one of the most difficult parts of this transmission rebuild.
Since this is put in the bottom of the case, with the spring compressor in the way, the snap ring is difficult to install, and it took many attempts to get it back on. Even with the proper snap ring pliers, it still was not easy and had to be pushed down with fingers after getting it started over the outer part of the bore shaft. At this point the next part worked on was the new reverse input drum.
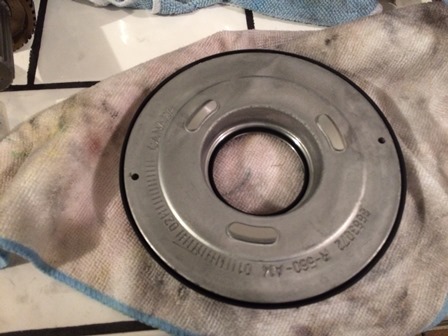
Figure 22. The reverse input piston is in good shape and will be re-used. Get the seals for it from the kit, and install them.
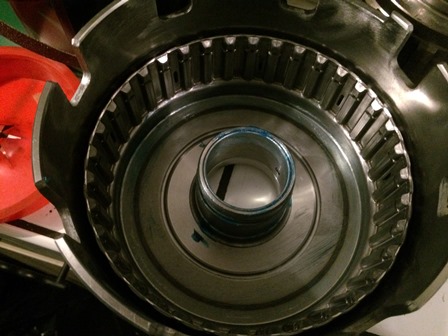
Figure 23. Lubricate the bore of the reverse input drum and the seals on the piston.
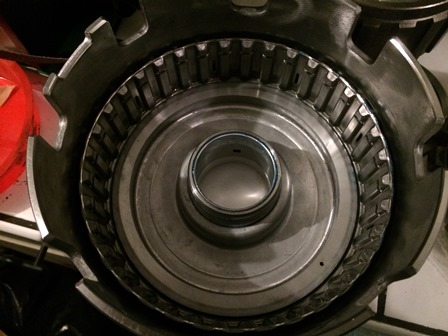
Figure 24. Install the piston in the drum. An .010 feeler gauge is very handy here to help roll the edges of the seals into the bore so they do not get cut as the piston is installed in the drum. Lightly push down while twisting slightly as the feeler gauge rolls the seals in and bottom out the piston in the bore.
| Pages: 1, 2, 3, 4, 5, 6, 7, 8, 9, 10, 11, 12, 13, 14, 15, 16, 17, 18, 19, 20, 21, 22, 23, 24, 25, 26, 27, 28, 29 |
| <--Previous | 4L60E Rebuild Home | Next--> |
| Contact: Copperhead | As an Amazon Associate I earn from qualifying purchases | © 2019 |