4L60E Transmission Rebuild Page 12 of 29
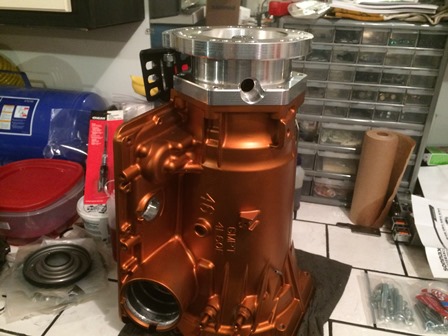
Figure 45. Install the Novak adapter housing onto the transmission. Install the supplied studs into the case with the supplied thread locker. Install the sealing o-ring in the groove in the end of the case. Install the new housing on the studs. Place the lockwashers and nuts on the studs, and tighten them down.
Congratulations! The back half of the rotating assembly is now complete!
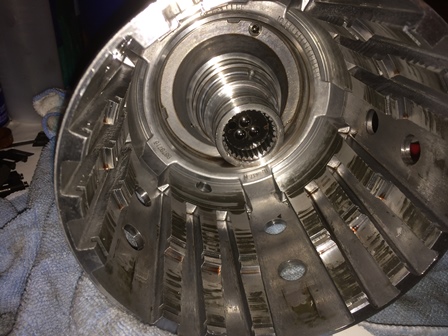
Figure 46. Now we come to the heart of the 4L60E, the input drum. The old drum out of the transmission is heavily worn and not re-usable. This is going to have be replaced.
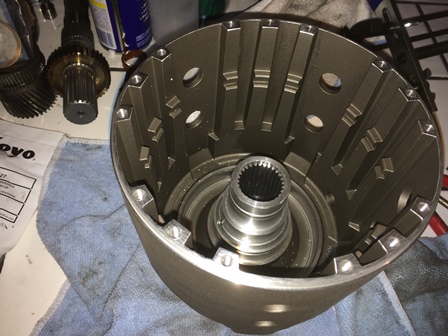
Figure 47. This is the new Sonnax Smart Tech Input Drum. If your going to replace the drum, you might as well do it right and get the best, as this is where the most problems with the 4L60E are. This drum allows you to put extra 3-4 clutches in, and has other features that help with common failure points in the transmission.
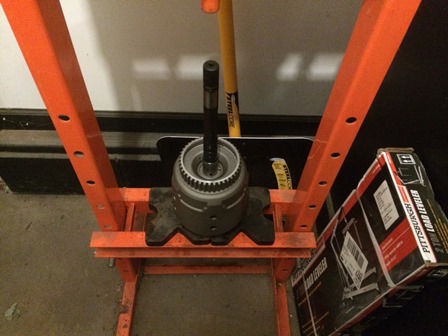
Figure 48. The input shaft was also worn out, and replaced with the Sonnax 300mm non-reluctor hardened input shaft. the shaft and drum get a dose of sleeve retainer compound, to make sure it does not come out and helps seal it in the drum. The shaft is then pressed into the drum.
| Pages: 1, 2, 3, 4, 5, 6, 7, 8, 9, 10, 11, 12, 13, 14, 15, 16, 17, 18, 19, 20, 21, 22, 23, 24, 25, 26, 27, 28, 29 |
| <--Previous | 4L60E Rebuild Home | Next--> |
| Contact: Copperhead | As an Amazon Associate I earn from qualifying purchases | © 2019 |