Cooling System
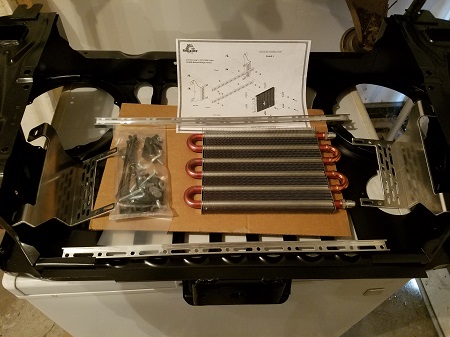
Figure 1. Now that the fuel lines are ran, we move to the cooling system. We start with the Flex-a-lite 41166CJ Direct-fit Transmission Oil Cooler with 6AN Fittings which goes into the grill first. Shown are all the items that come in the kit. All brackets and hardware is included.
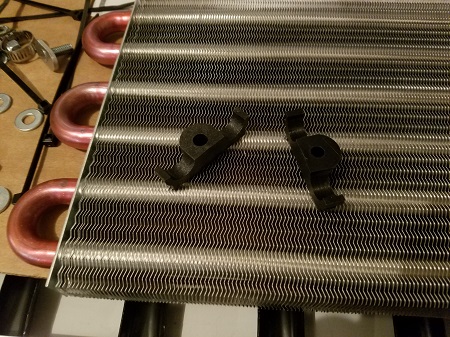
Figure 2. These are the gator clips that go on the cooler tubes to attach it to the mounting brackets. There are 4 of these in each kit.
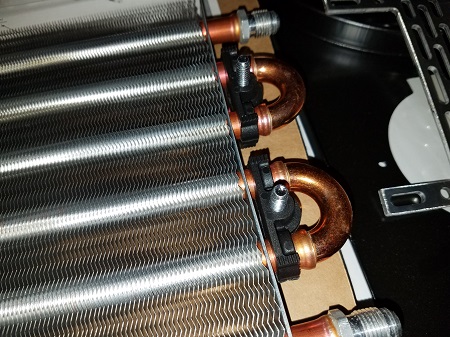
Figure 3. Here we see the gator clips mounted on the tubes of the cooler. The bolts go through both clips and into the brackets.
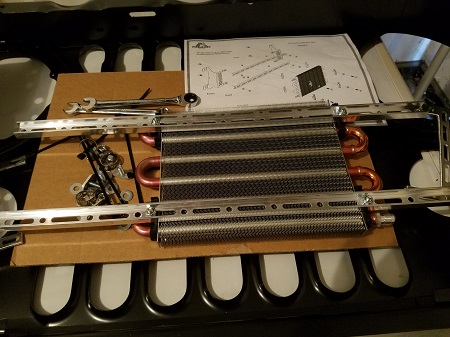
Figure 4. Here the cooler is now attached to the C-Channel brackets. The nuts are a tight squeeze to get a wrench or socket on. We used a screwdriver as a wedge to keep the nylock nuts from turning as the bolts were tightened.
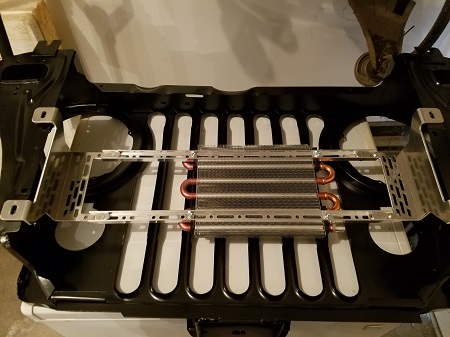
Figure 5. The cooler is now assembled and set in the grill, it cannot be bolted in until the radiator goes in, the brackets for both use the same bolt holes.
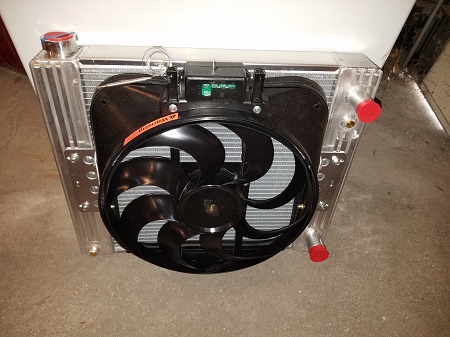
Figure 6. Here is the Flexalite 51168LS radiator with fan for the CJ7. This item is no longer available, but Flexalite has a new version of it with their extruded radiator core, it is Flex-a-lite 315861 Extruded Core Radiator for LS Engine. The inlet and outlet are both on the passenger side.
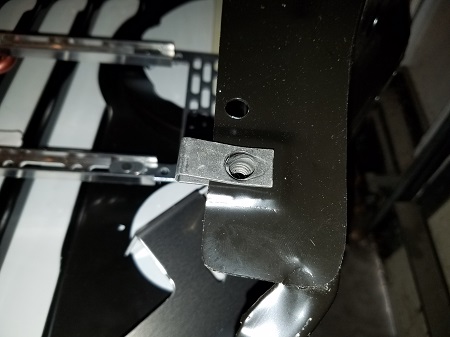
Figure 7. The captive nut that came with the kit was too long. We do not know if they put the wrong ones it, or if the kit was mis-packaged or what.
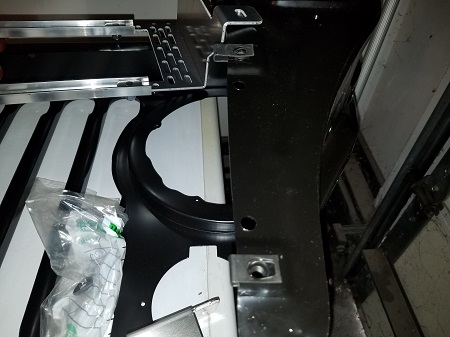
Figure 8. A quick trip to the local hardware store got some 5/16 captive nuts with the right length. You can see the difference in length from the one at the top in the photo and the one at the bottom. The shorter ones look much better.
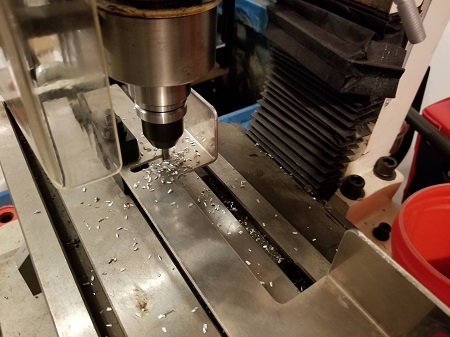
Figure 9. The slots in the radiator brackets also appear to be for a different vehicle, as they were in the wrong place. Slapped them into the milling machine real quick and made them longer and now they work just fine for the radiator. The aluminum cuts very easily.
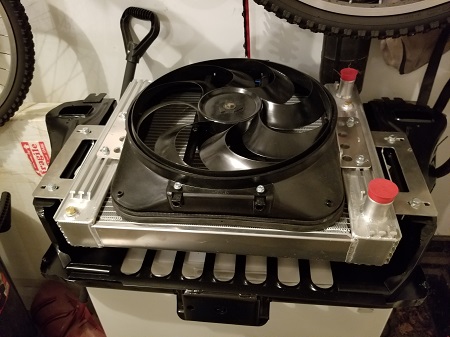
Figure 10. The radiator is now bolted into the grill, along with the transmission oil cooler. You can slide it up and down with the t-nuts until it is positioned where it needs to be even with the top of the grill.
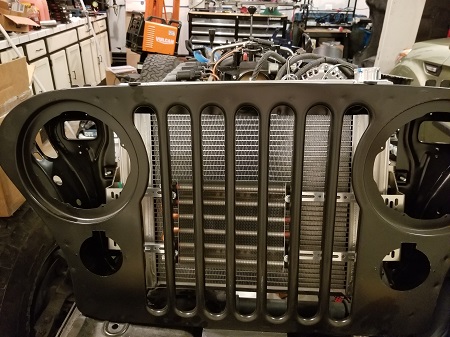
Figure 11. The installed cooling units from the front. They look very nice, and should perform well.
