Rear Dana44 Rebuild Page 6
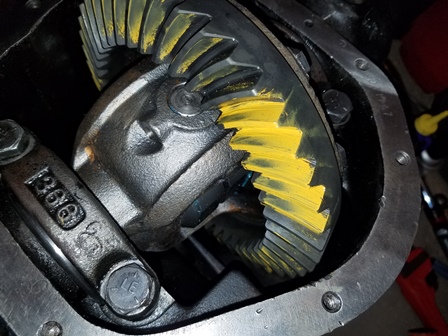
Figure 21. This is the third attempt. We are pretty close on getting the pinion depth set, however according to gear pattern charts that we referenced, the backlash is now too tight. We think another .005 on pinion depth, and move the carrier away from the pinion .008 and we will be where we need to be.
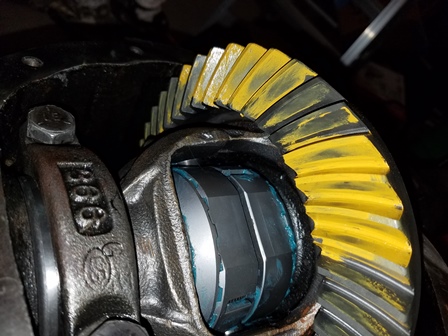
Figure 22. Here is the final gear pattern. It took about 12 tries assembling and dis-assembling to get to this point. With a new carrier, the old shim packs were not even close to what had to be put in. The pinion depth ended up requiring .072 in shims.
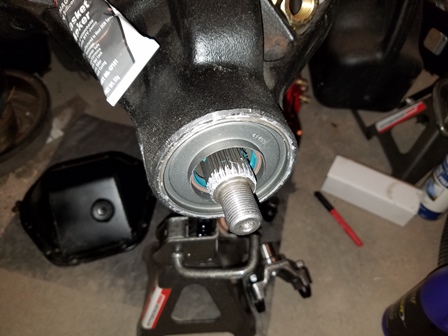
Figure 23. From getting the gear pattern acceptable, we moved to pinion preload. This took MANY tries, and we had to order more shims because the ones that came in the kit did not have enough range to get to the thickness we needed. We ended up putting in .079, which gave us 17in lbs on the pinion, that is at the high end of the spec, but .077 is not enough and the shims we had could not get us to .078 with any combination. There just isn't enough range in these shim packs. Once we had that set, we put the seal in. Filled the space between the two lips with grease, and put rtv on the pinion splines and the outer edge of the seal before driving it in. Not shown in the picture is when the 1350 yoke was put on, 200ft lbs is a TON of torque for an axle that is out of the vehicle. It was not easy, but it got done.
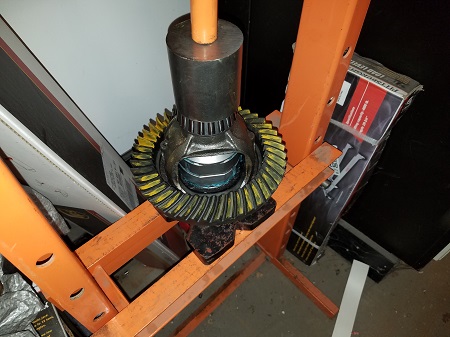

Figure 24. Pressing the final bearings on. Now that we have everything set, the setup bearings are removed and the Timken 25590 Tapered Roller Bearings are pressed on. Don't forget to put the shims on first.
| Pages: 1, 2, 3, 4, 5, 6, 7, 8, 9, 10, 11 |