Front Dana 44 Rebuild Page 2

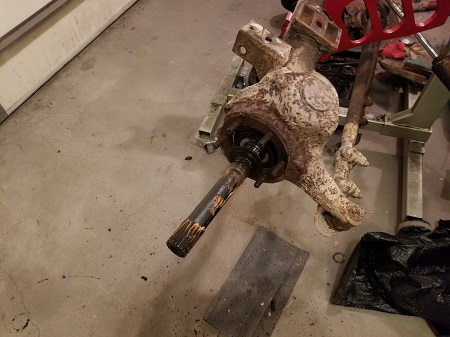
Figure 5. With the spindles removed, the axles will now pull out. Shown here is the passenger side axle just prior to pulling it out. The rust on the knuckle make it a tight fit to get out, but with a couple taps of a rubber mallet, it pops right out. This axle will be replaced with a stock length alloy axle from Mitchell Differentials. Mitchell made the custom alloy axles for the rear Dana 44, and they were very nice, so we decided to use them for the front also.
Why not RCV axles? Well, the main reason is cost. We are trying to install this axle as reasonably priced as we can. We cannot justify an axle set that would cost as much as the entire build using the Mitchell axles. If we ever do some professional competing and get a sponsor, then we can revisit the axle choice. This falls in line with our decision to not use the Dana 60 axle also, because of the extreme cost involved. As we stated earlier, we are confident in the Dana 44 if we do not abuse it and stay reasonable on tire size.

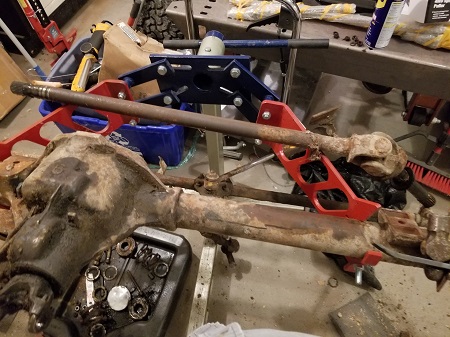
Figure 6. Here is the long side (Drivers) axle removed, this is the one that will be narrowed four inches. We will go into detail on narrowing this axle and tube later in this build.

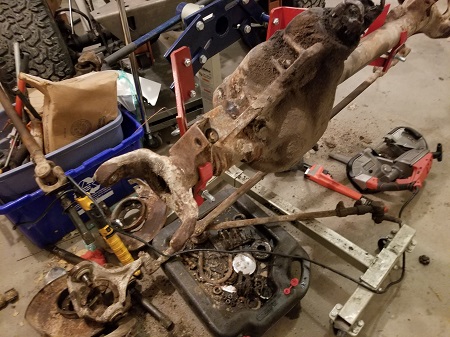
Figure 7. The axles and knuckles have now been removed. We had to cut them off with a portable bandsaw, the ball joints would not budge, even with a press. We are going to replace them with high steer units anyway, so it was ok. Once we get everything out, and the new inner c's welded on, the entire housing will be sandblasted and sent out for powdercoating. It will be satin black, and the new knuckles and brake caliper brackets will be done in the copper powder coat, along with the pumpkin cover.

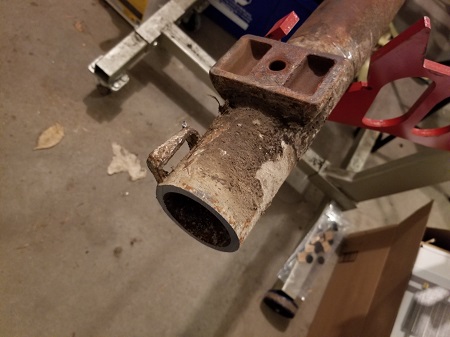
Figure 8. The long side inner C has been cut off in this image. The tube has not yet been cut to the final length, but it was easier to just cut it off right behind the inner C and get it out of the way. The spring perch and the shock mount will be removed from the tube. They will be welded back on after pinion angle is set, and the tube is cut to length for the CJ. The spring perch needs to be moved towards the pumpkin approximately 4 inches.
| Pages: 1, 2, 3 |
