Dana 300 Rebuild Page 9
| <--Previous | Dana 300 Home | Next--> |
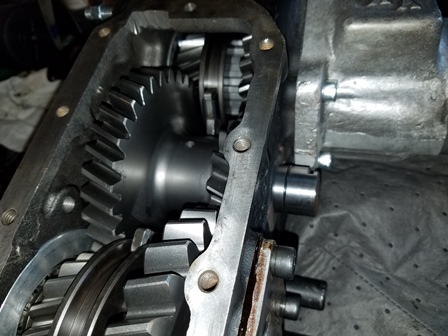
Figure 033. Place the Intermediate Gear in the case on the other gearsets, and slowly roll it down into place. Use your fingers to help keep the thrust washers from sliding off as the gear gets lowered. This is why the case was notched, this gear is much larger than stock and would not have been able to roll in without it. Once the shaft is down far enough, carefully start the shaft into the case. Keep the notch for the retaining washer square with the bolt hole for it, as you will not be able to turn it once it is driven in. Use a large deadblow hammer to drive the shaft into place. Use a small application of silicone in the bore on the input shaft side to prevent future leaks. Once the shaft is driven in as far as you can, insert the square retaining washer and bolt. We replaced the original bolt with a socket head screw, they look much better, and do not do as much damage to the other components as the hex head screws.
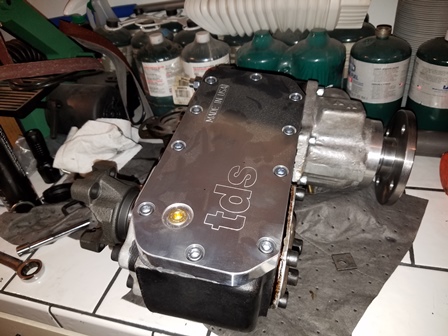
Figure 034. The case can now be sealed up. We used a TDS billet aluminum cover. This cover adds strength and rigidity to the transfer case. Put silicone on the sealing face of the case, then install the cover, torque the cover bolts to 27ft lbs.
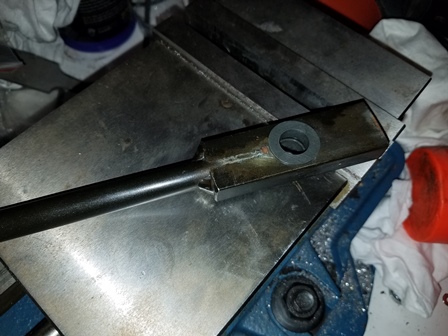
Figure 035. Now the Advance Adapters Twin-Stick shifter kit will be installed. We begin by installing these plastic bushings on both sides of each shifter shaft. They go in easily with a slight tap from a plastic hammer.
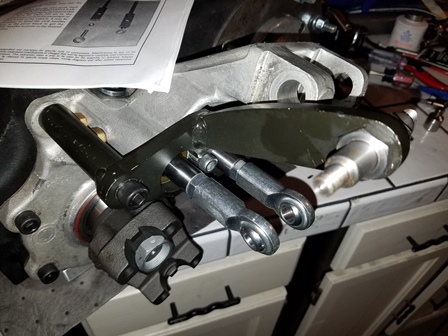
Figure 036. The new shift rails provided with the kit are threaded 3/8-24 instead of being notched like the factory rails are. The shifter kit rails do NOT have the clearance notch for the 4:1 gearset that is needed. Our gearset came with a notched shift rail that had the clearance notch in it. This was taken to the machine shop and cut down and threaded to be the same as the AA shift rail. The AA shift rails are the ONLY place you can get a replacement passenger side shifter rail. No other company is making them at this time. The driver side rail is readily available. To proceed with the installation, install the jam nuts on each shift rail then install the provided heim joints. do not tighten them up at this time.
| Pages: 1, 2, 3, 4, 5, 6, 7, 8, 9, 10, 11, 12 |